Managing food expense submissions shouldn’t slow down your team. Whether it’s a client lunch or a team dinner, a smooth and consistent process not only improves employee productivity but also ensures faster, more accurate reimbursements. Relying on manual methods can lead to lost receipts, delayed approvals, and frustrated employees – all of which impact efficiency.
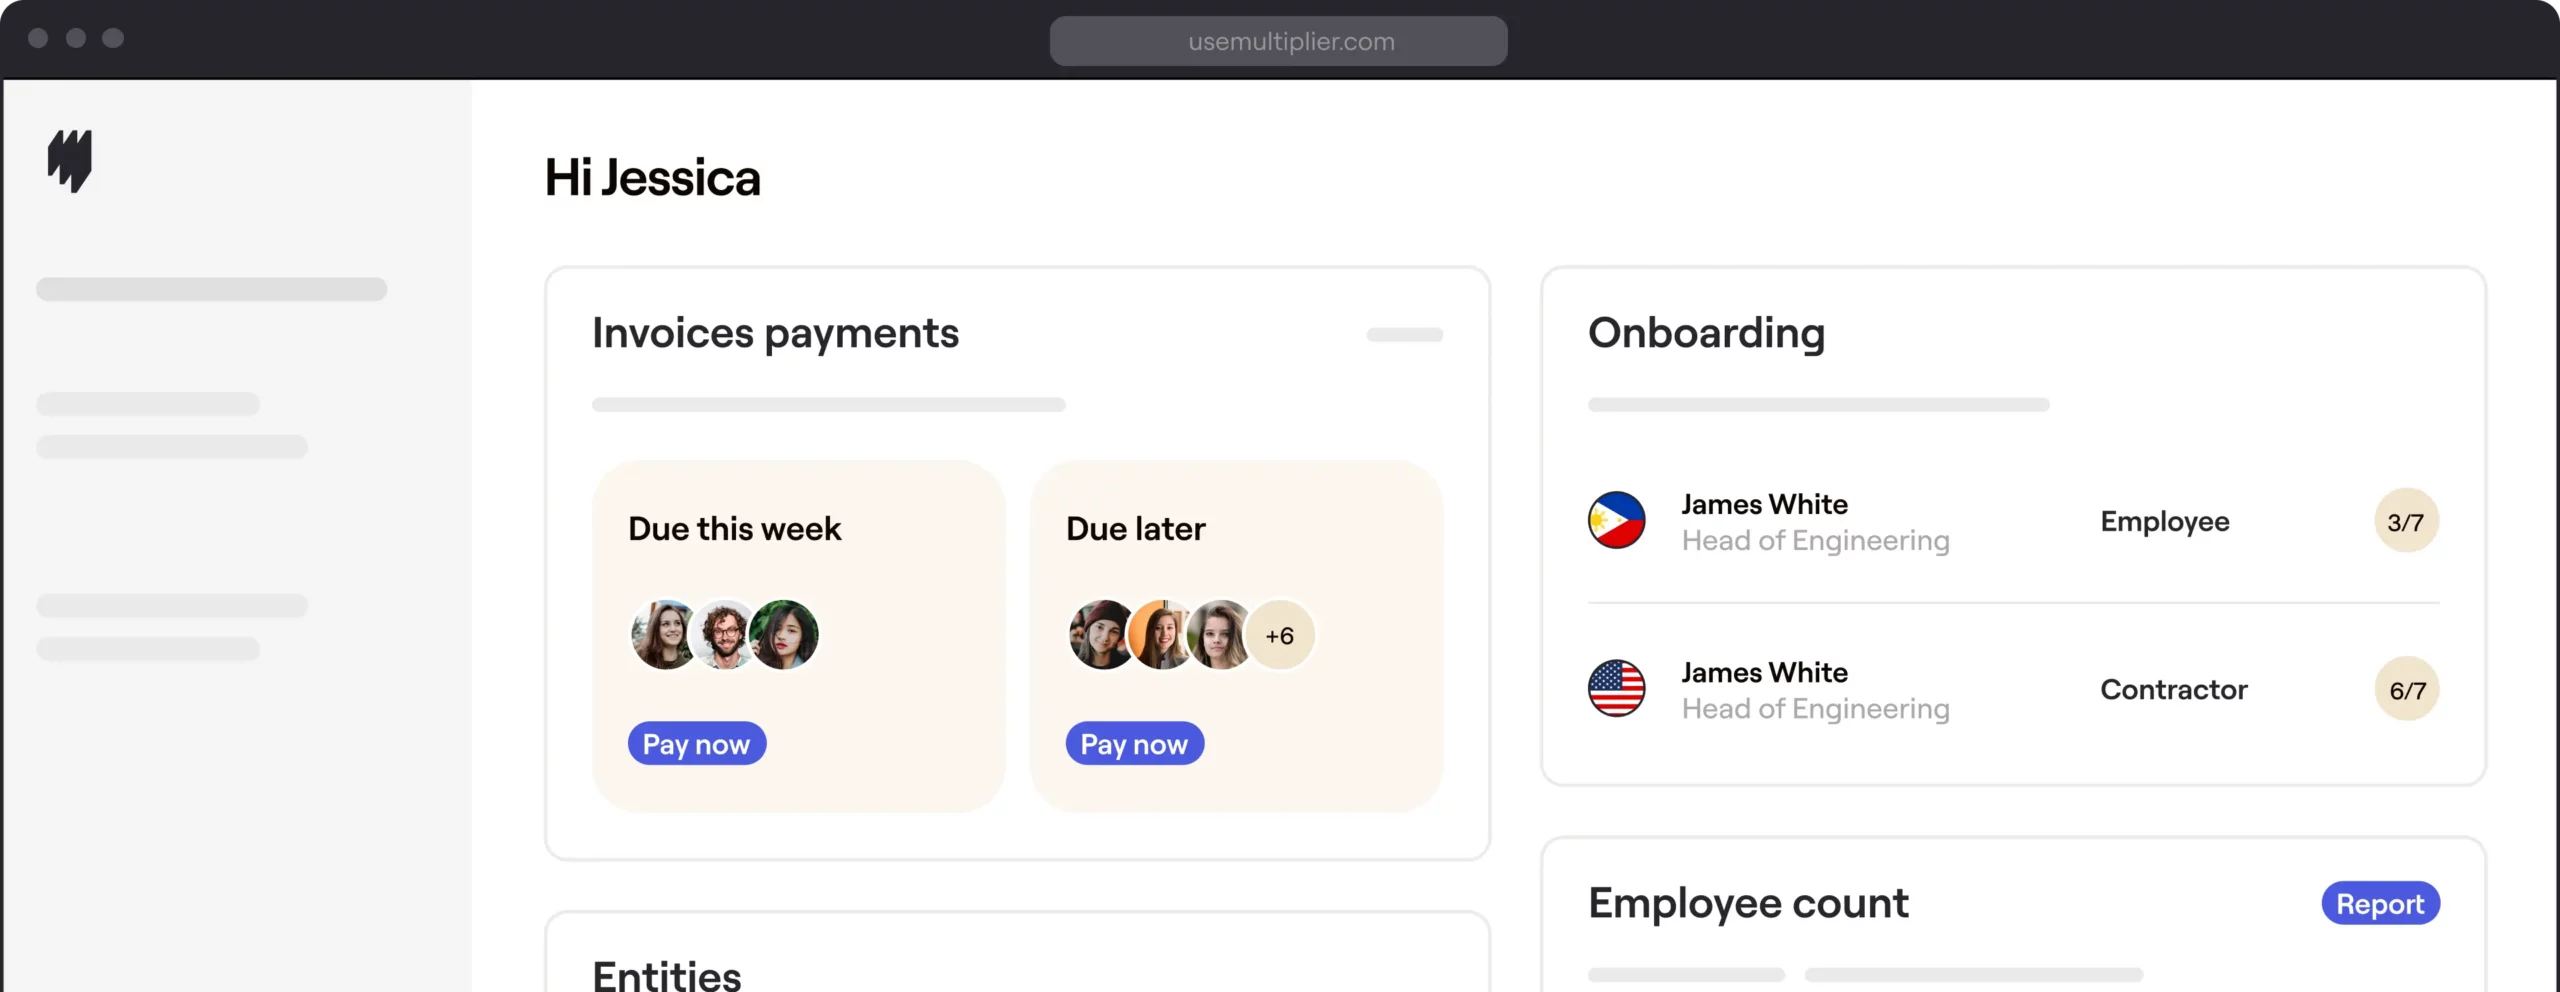
With the right system in place, your employees can easily submit expenses, upload receipts, and track their requests, while you maintain full visibility and control over every stage of the process.
In this article, we’ll show you how to implement an organized and efficient food expense submission process that works for both you and your employees.
How to submit food expenses for approval
Step 1: Open the Expenses tab
Employees start by heading to the “Expenses” tab on their dashboard to view and manage all expense reports.

Step 2: Add a new expense
Click on the “+ Add expense” button to begin submitting a food expense.

Step 3: Fill out the expense report
Enter the relevant details including report title, expense category, and amount. For food expenses, select Meals & Entertainment as the expense category.

Step 4: Upload receipt(s) and submit
Attach a PDF, PNG, JPG, or ZIP of the receipt(s) as proof of the expense. Once all fields are completed and receipts are uploaded, click “Submit expense” to send it for approval.

Step 5: Track expense status
Navigate to the “Open” tab to monitor the status of the submission – employees can see whether it’s pending, approved, or rejected.

Expenses, tracked
Submitting expenses with Multiplier is quick and hassle-free. Employees know exactly where their requests stand – and you get full visibility and faster approvals. Book a demo and find out for yourself.