Managing tool license expenses for your team doesn’t have to be complicated. Whether it’s approving a software subscription reimbursement or assigning a one-time license purchase, having an efficient process in place keeps operations running smoothly and your employees equipped with the tools they need.
In this article, we’ll show you how to review, assign, and track expenses submitted by your full-time employees – all from a centralized dashboard. Easily view pending requests, allocate new expenses, and manage approvals with ease.
How to manage tool license expenses from employees
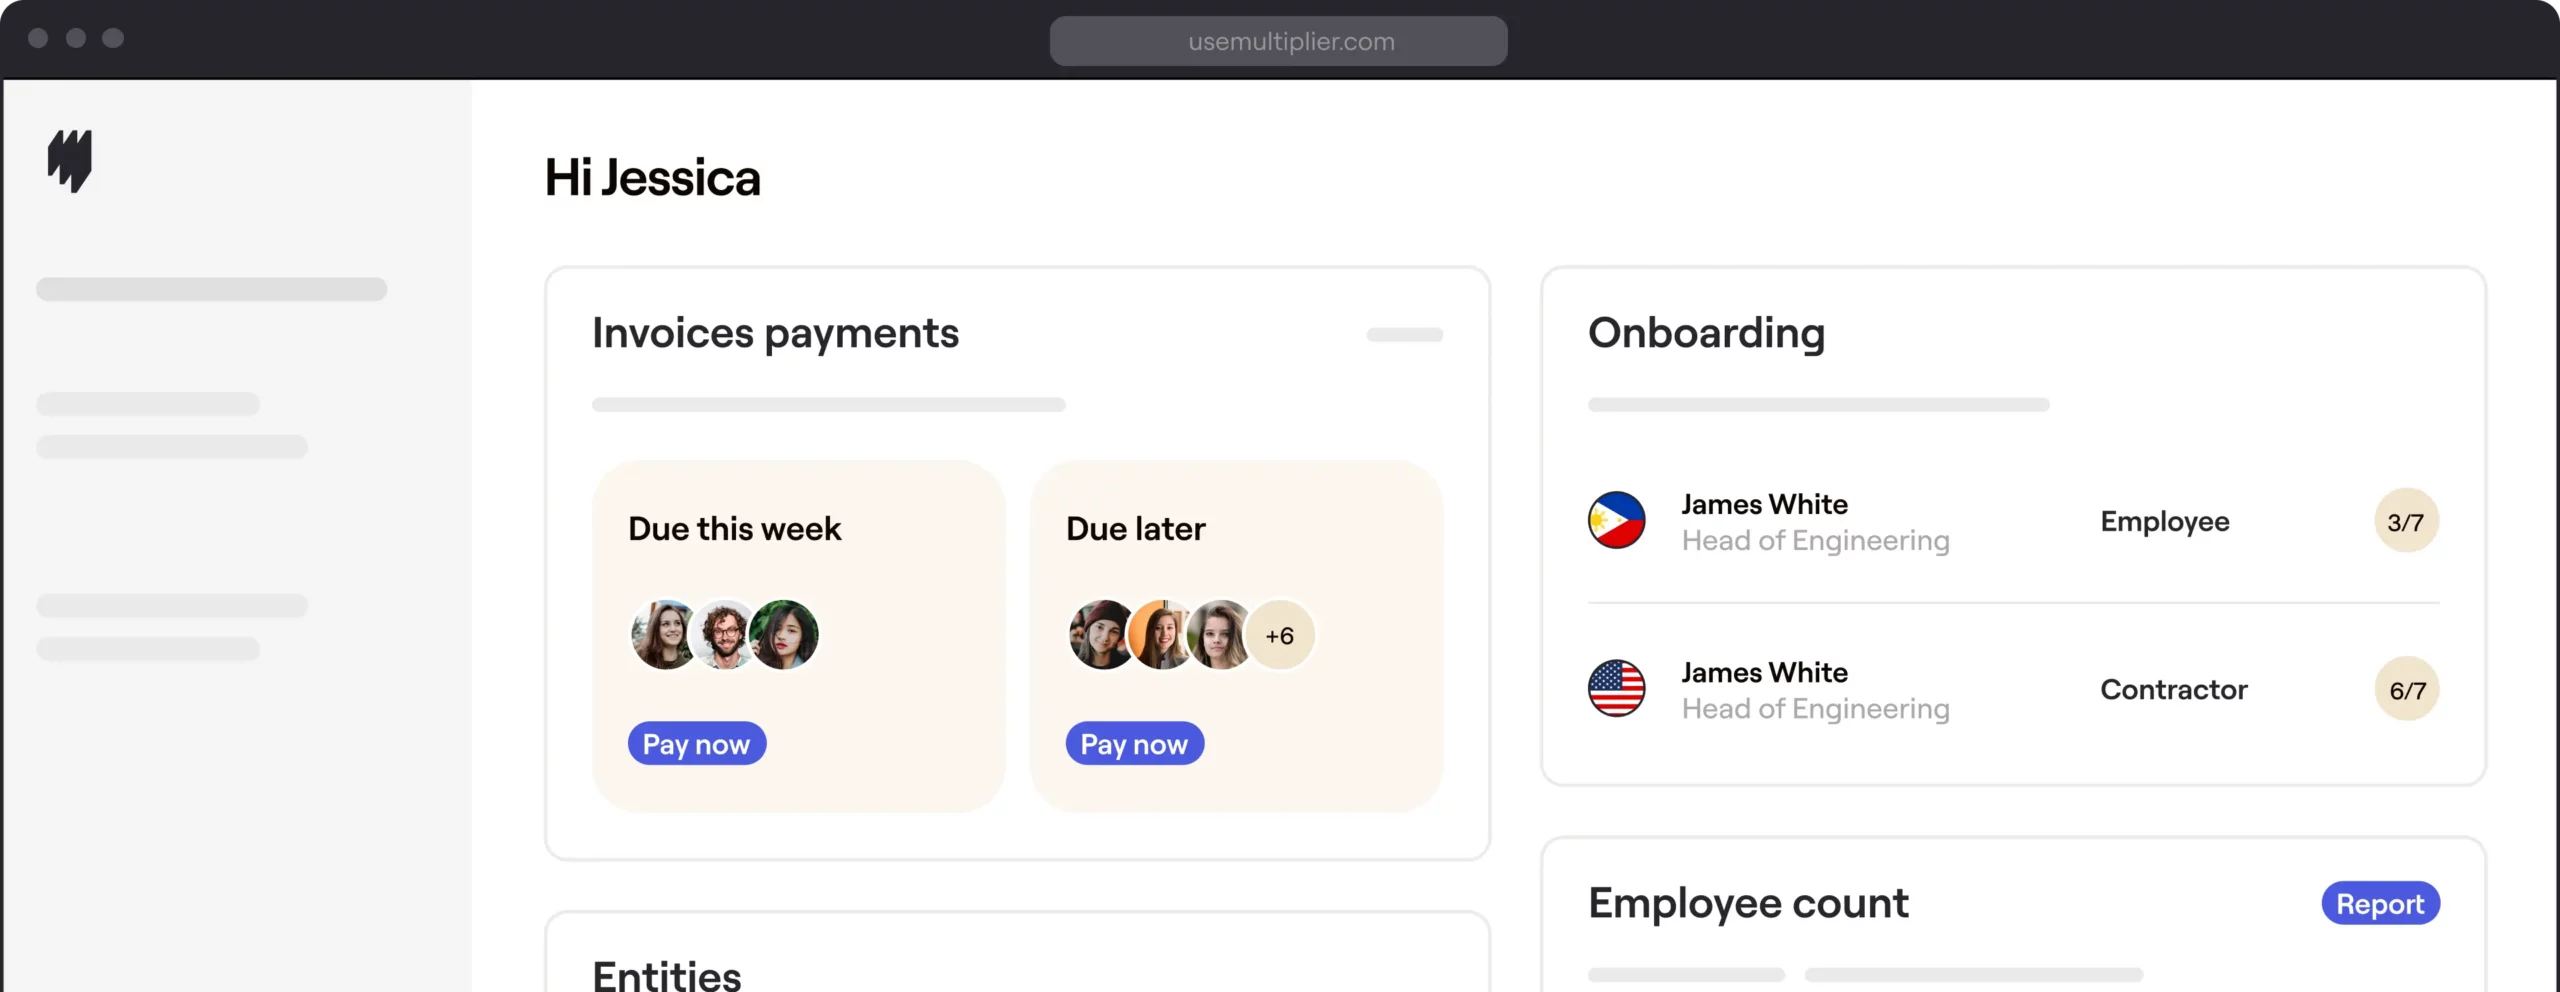
Step 1: Open the Expenses tab under Administration
Navigate to the “Administration” module on your dashboard and click on the “Expenses” tab to access and manage expense requests.
Alt image description: 
Step 2: Review pending requests
View and take action on submitted tool license expense requests – either approve or reject based on your review. Click on the History tab to view past expenses.

Step 3: Assign a new expense
Click on the “+ Add expense” button to assign an expense manually and create a new tool license expense on behalf of an employee.

Step 4: Select the employee
Choose the full-time employee from the dropdown list for whom the tool license expense is being assigned.

Step 5: Fill in the expense details
Enter the necessary information including report title, category, and total amount. For tool license expenses, select Professional Services as the expense category.

Step 6: Attach receipts and submit the expense
Attach a PDF, PNG, JPG, or ZIP of the receipt(s) as proof of the expense. Once all fields are completed and your receipt is uploaded, click “Submit expense” to add it to the system.

Expenses, organized
With Multiplier, managing expenses is streamlined – from reviewing and approving employee-submitted reports to assigning expenses manually. Book a demo and find out for yourself.